The Safex Big Box Store 104: Shopping Walkthrough
This article provides a step-by-step walkthrough and explanation of shopping on the Safex Marketplace and buying products offered for sale via the Safex Big Box Store.

This article provides a step-by-step walkthrough and explanation of shopping on the Safex Marketplace and buying products offered for sale via the Safex Big Box Store.
This is the fourth in a series of articles, which looks to provide a complete set of tutorials regarding all aspects of the Big Box ecosystem. The articles in the series (including this one) are:
- Big Box 101: Introduction & Explanation
- Big Box 102: Installation & Setup
- Big Box 103: Basic Safex Wallet Functions Walkthrough
- Big Box 104: Shopper Walkthrough
- Big Box 201: Approved Merchant Walkthrough
- Big Box 301: Independent API Merchant Walkthrough (separate software release)
Each article builds on the information provided in preceding articles, and this article assumes the reader has previously read the 101, 102 and 103 articles in the process of learning about the Safex Big Box Store ecosystem, and subsequently installing the software.
Market Page
The first thing to do on the Market page is “enter the store” you want to shop in. You do that by typing the URL of the relevant Big Box Store API you want to visit.
Active Safex (Mainnet) Store Front APIsThe following links can be used to enter Big Box Store Fronts. Simply copy and paste the link into the Store Front API section (left of the Leave button) of the Market page of the wallet.

Note: All screen captures of the Big Box Store used in this article are of the testing “Stagenet” version. All addresses, coin balances and offers are fake and are for testing purposes only. The api.safex.ninja URL is a demonstration shop used for testing and cannot be accessed on the mainnet live version to buy real products.
The Leave button allows you to leave a particular Big Box Store. Once multiple Store APIs are available, you could then enter a different Store by typing in the corresponding URL.
Once you have entered a store URL, the products available will populate, based on the default search parameters (Newest first).
If you have already set your Country in the Settings page, then that country will automatically populate into the Country drop-down menu, and the listing will filter to only those that ship to your country.
The other search parameters are:
- Text field search (product title, description, offerID or seller name)
- Min/Max prices
- Quantity available (defaults to 1)
- Search Order (Newest/Price Ascending/Price Descending)
Once a Store Front is entered and the Load button clicked, the Market page will populate with currently available items for sale - for the country selected.
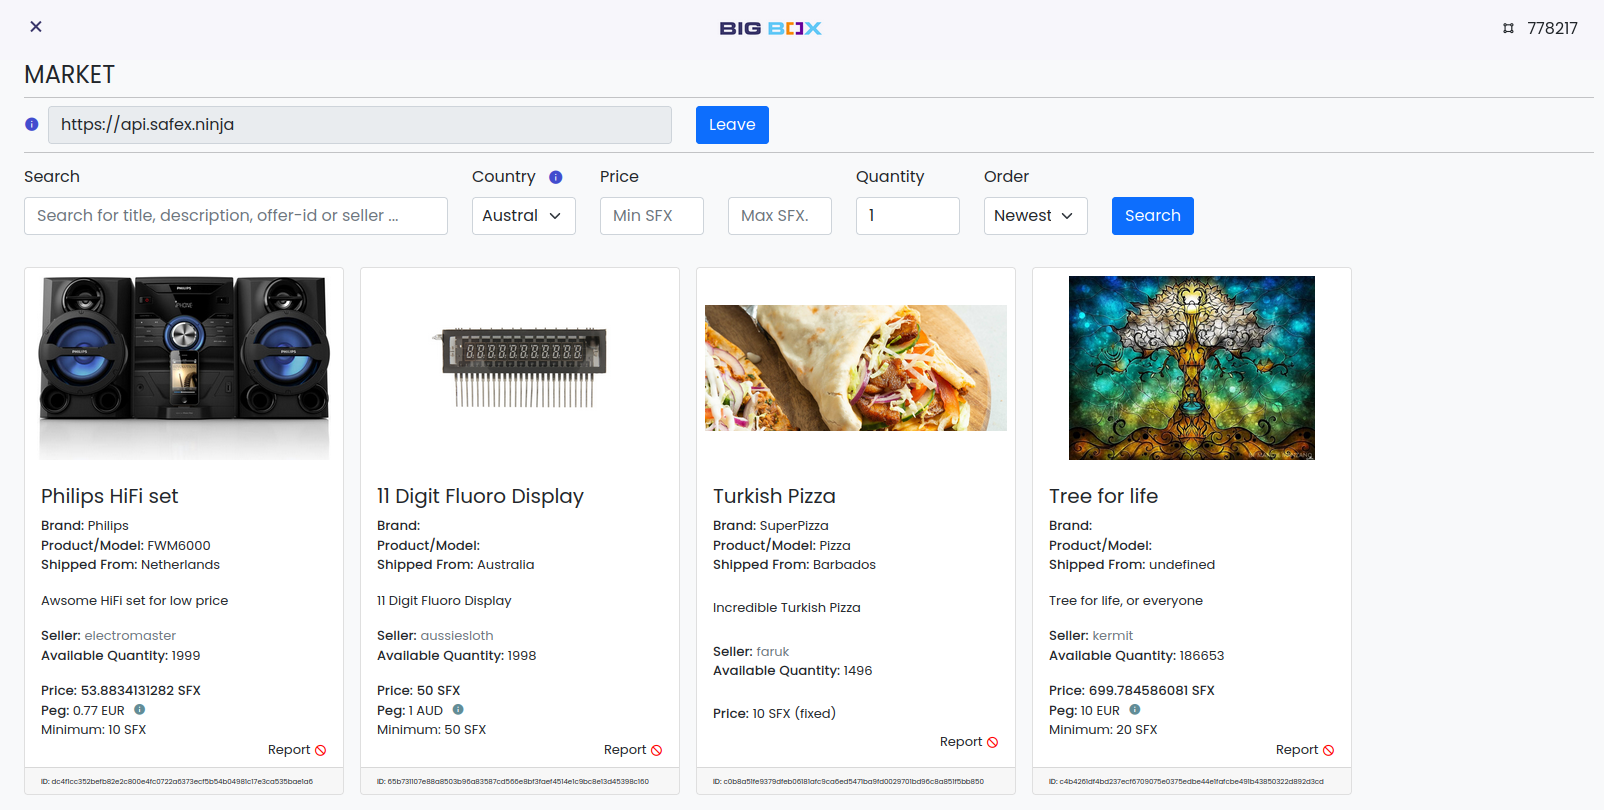
Users will note that every item has a Report button at the bottom of each displayed listing, which has been included in order to best comply with European Union online marketplace regulations. Reporting a listing will notify the owner of the relevant Big Box Store Front API of a potential issue with the listing, and flag the listing in the API. The API owner can then investigate further, and has the ability to ban the item listing, and also, depending on the circumstances, completely ban the merchant who listed it.
Clicking anywhere in one of the items listed will bring up that item in a larger window, which displays the full offer details and a Purchase button. There’s also a Close button, which closes the window and returns you to the Market page.
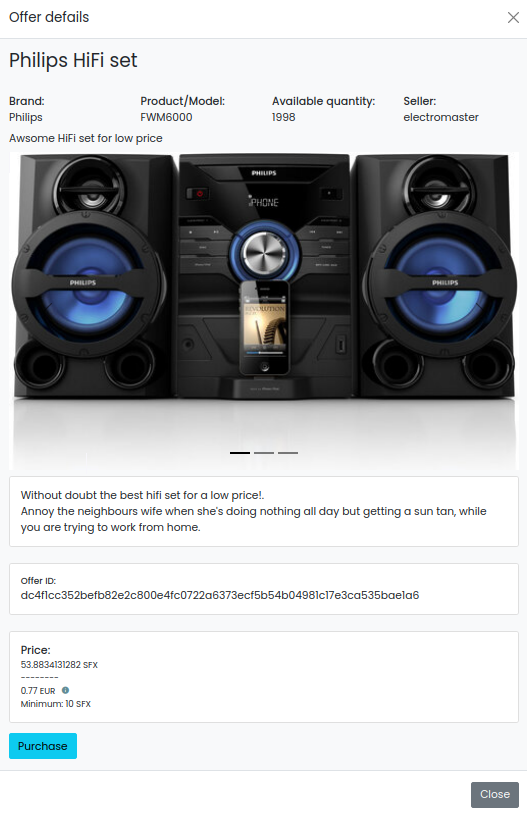
Clicking the Purchase button open up additional fields:
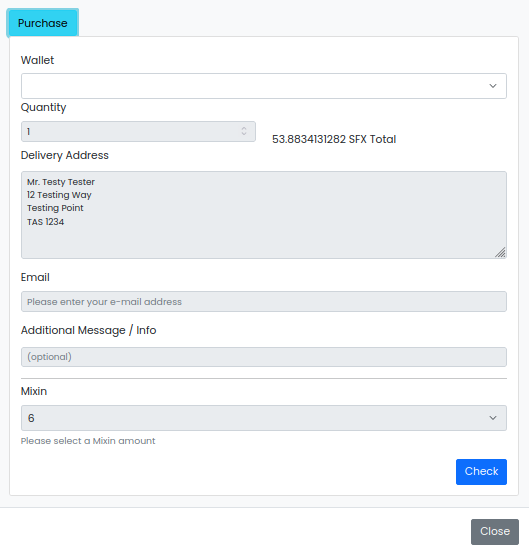
Clicking on the Wallet dropdown allows you to select which (if you have multiple) you wish to use to make the purchase. Once selected, it checks the wallet and displays the SFX balance that is available for making the purchase.
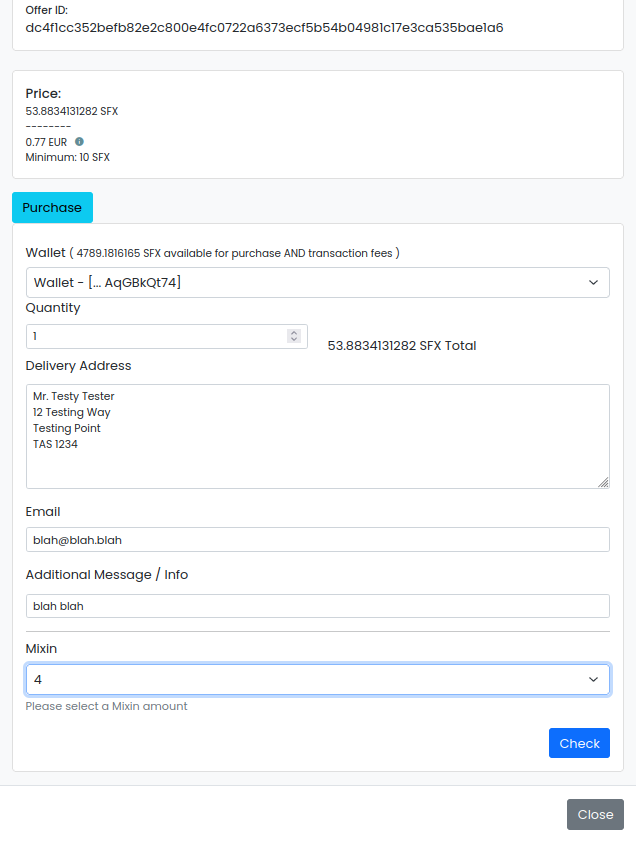
For the remaining fields:
- Quantity - default is 1, but if you change the quantity, the corresponding Total Purchase Price updates to the right of the field,
- Delivery Address - if you have already set your Address in the Settings page, this field will automatically populate with those details, but you can manually enter the field and change the Delivery address, if needed.
- Email address field - a redundancy contact point for the seller,
- Additional Message/Info - buyer can enter any special instructions to the merchant, if required.
- Mixin - choose the transaction mixin value you wish to use (this governs the level of transaction privacy - the higher the number the more privacy, but also means a slightly higher transaction fee). Default is 6. Adjust as you wish.
- Check button,
Once all fields have been completed, click the Check button, and a confirmation window appears.
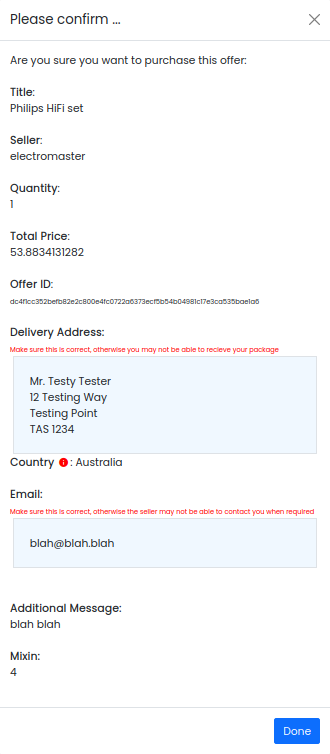
Check all the information. If happy to proceed with the purchase, click the Done button and you get returned to the Purchase popup. But now, you will see a new Button has appeared - a Purchase! Button.
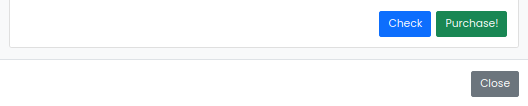
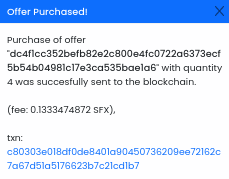
Click the Purchase! button to create the purchase transaction and buy the offer in the quantity you entered. A Toast will popup in the bottom right corner of the screen, showing a transaction confirmation and the relevant transaction hash for the purchase.
Purchases
The Purchase page shows all your past purchases within the Big Box Wallet. The page auto refreshes and checks for new messages every minute. The auto refresh can be turned off, and the twin arrow circle to the right of the Auto refresh allows the user to manually refresh at any time.
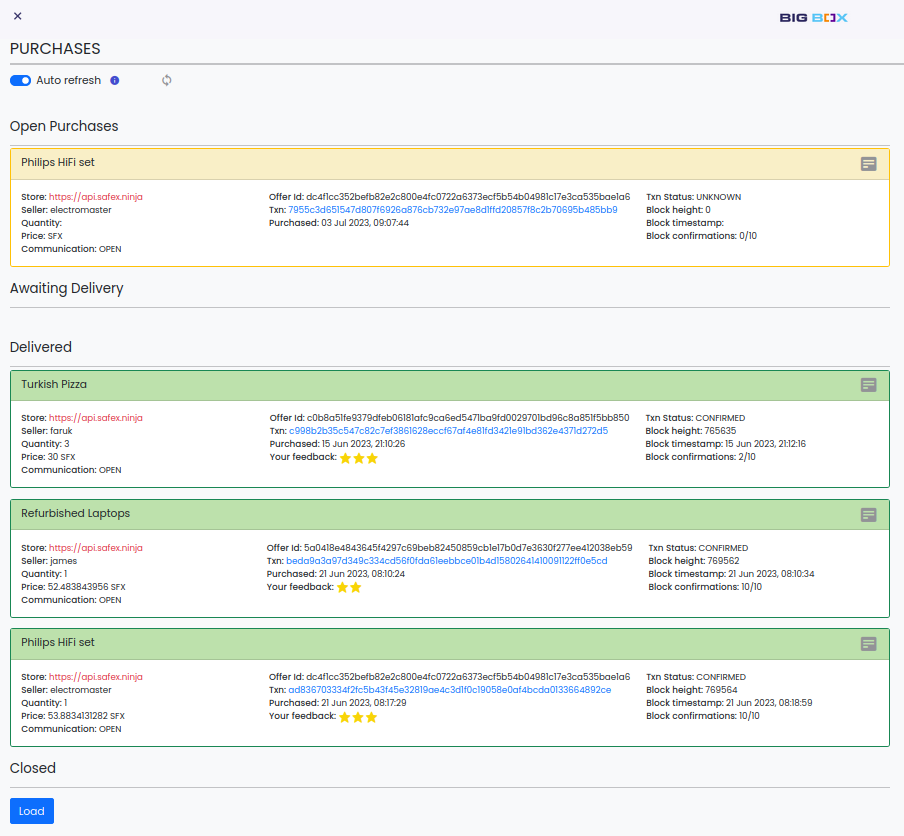
The page is broken into 4 sections, based on the status of past purchases:
- Open Purchases
- Awaiting Delivery
- Delivered
- Closed
As each purchase gets processed (Payment and Purchase confirmed | Shipped | Delivered), it progressively moves automatically from one section to the next, triggered by either Buyer or Merchant clicking the relevant button in the Message & Management P2P chat window for that purchase, as explained in Article 101.
In this way, all items purchased move through the Purchase workflow in a smooth fashion.
When looking at the completed purchases, users will note that each purchase gets 1/10 through to 10/10 block confirmations. Only after 10 block confirmations is the purchase considered verified.
After 1000 blocks have passed since purchase, users will see a ⭐️appear in the box, indicating that users now have the ability to give feedback on the purchase.
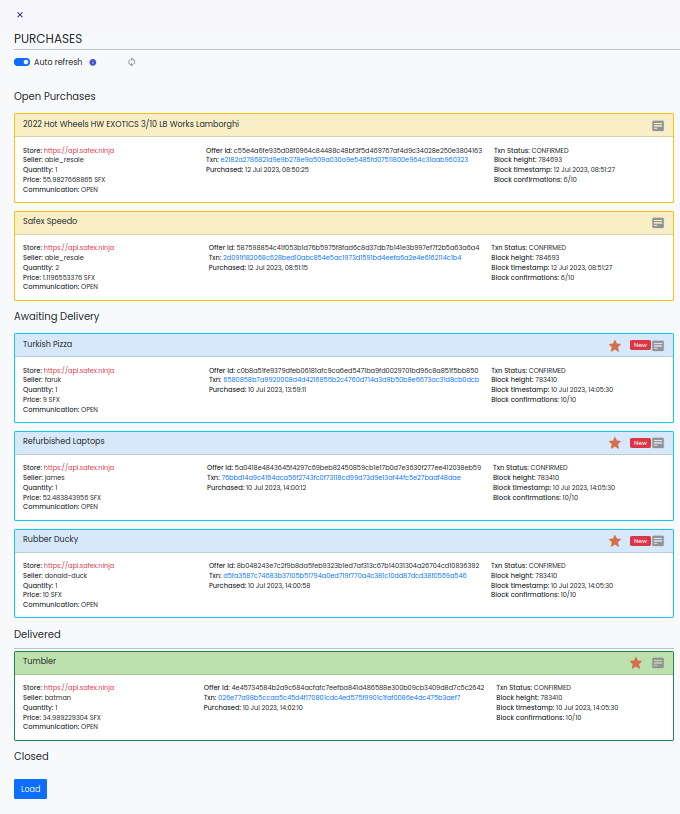
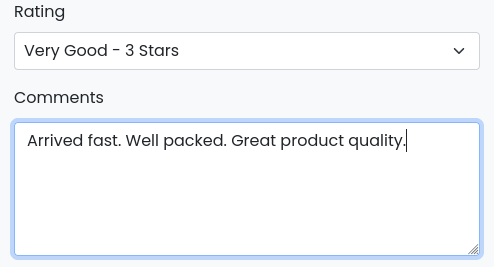
Clicking the ⭐ ️will present the user with a form for giving Feedback.
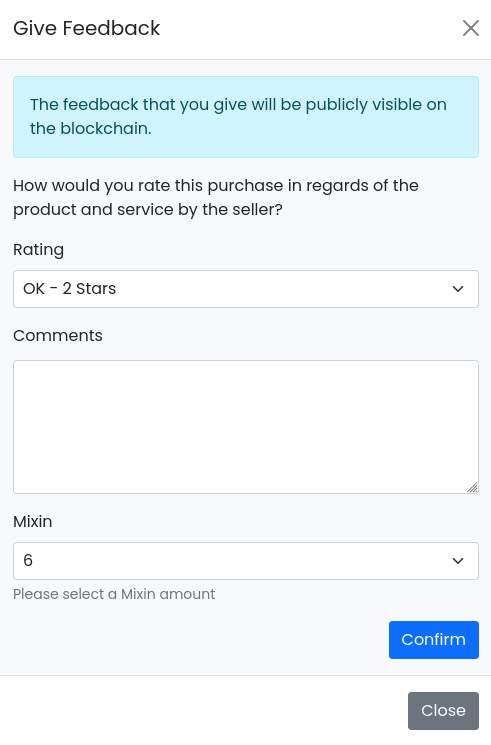
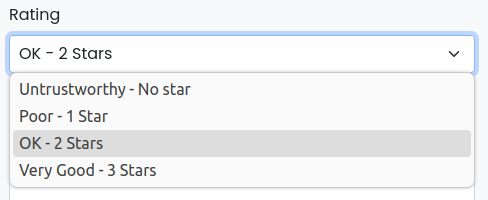
Users can select feedback in the range of 0-4, with each number indicating the level of satisfaction with the product and service/experience provided by the Merchant.
There is also a free text field for providing a written feedback comment.
Once feedback has been submitted, the Star rating is shown on the purchase.
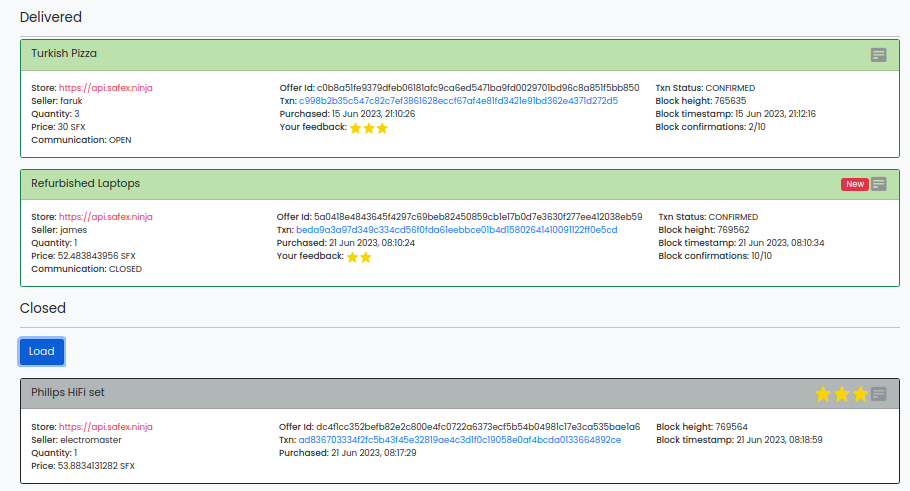
If you hover your mouse over the Stars, your feedback comment appears in hover text.
Once the purchase is completed and feedback submitted, you can Close off communications for that message. Closed messages no longer display on the page by default, but you can retrieve Closed messages at any later time by clicking the Load button in the Closed section of the page, and it will populate your old messages, as has been done, above, to display the Philips HiFi purchase.
Keep in mind that once a message is closed (by either Shopper or Merchant), you can no longer send messages on that purchase.
Final Thoughts
That concludes the shopper walkthrough of the Safex Big Box Store. All should now have all the tools you need to browse items for sale, and or make a purchase.
If you are also planning to sell items on the Safex Marketplace via the Big Box Store, you can now move onto the next article in the series, Big Box 201: Approved Merchant Walkthrough, which takes you through the Merchant functions of the Big Box ecosystem.