The Safex Big Box Store 103: Basic Safex Wallet Functions Walkthrough
This article discusses the PC system requirements upon which Big Box can be installed, and walks the user through the installation process and initial setup of the Safex Big Box Store software suite. It also provides guidance on how to use the basic Safex wallet functions.

This article discusses the PC system requirements upon which Big Box can be installed, and walks the user through the installation process and initial setup of the Safex Big Box Store software suite. It also provides guidance on how to use the basic Safex wallet functions.
This is the second in a series of articles, which looks to provide a complete set of tutorials regarding all aspects of the Big Box ecosystem. The articles in the series (including this one) are:
- Big Box 101: Introduction & Explanation
- Big Box 102: Installation & Setup
- Big Box 103: Basic Safex Wallet Functions Walkthrough
- Big Box 104: Shopper Walkthrough
- Big Box 201: Approved Merchant Walkthrough
- Big Box 301: Independent API Merchant Walkthrough (separate software release)
Each article builds on the information provided in preceding articles. It is recommended that users first read the Big Box 101 and 102 articles, to gain a thorough understanding of this software ecosystem.
Basic Safex Wallet Functions
The Wallet page allows users to perform a wide variety of standard Safex Wallet functions, and view other related information.
Users can perform the following base-level functions here:
- Create Wallet
- Give the wallet a name
- Restore Wallet
- Give the wallet a name
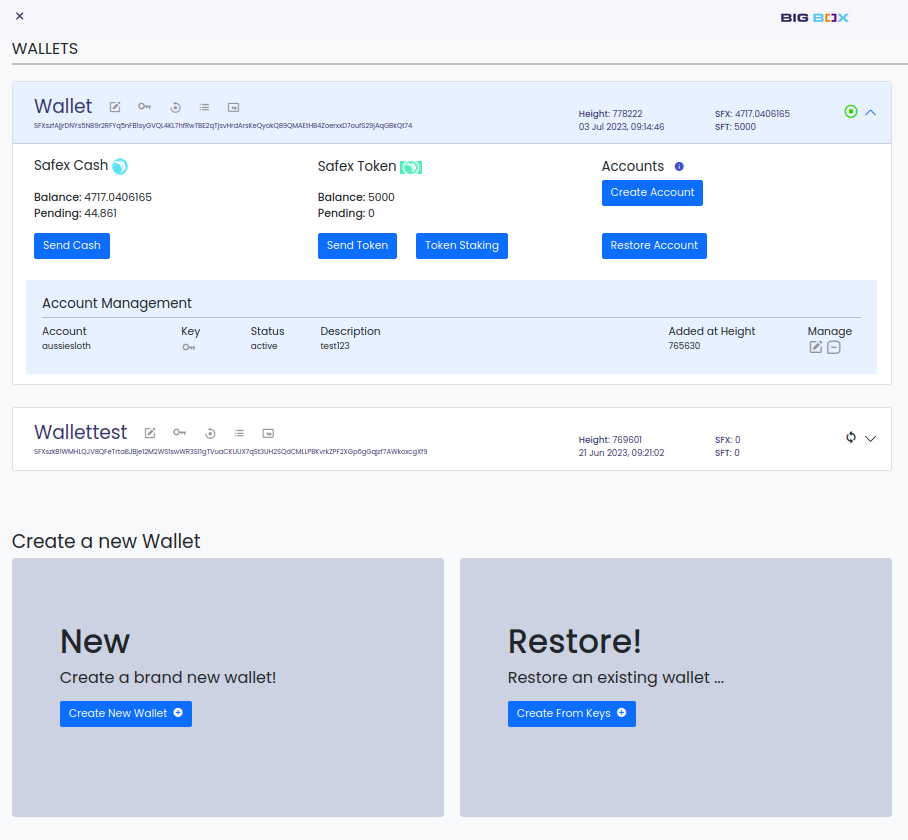
The Safex Big Box Store app allows multiple Safex Wallets to be opened in the app simultaneously. As can be seen in the above image, individual wallets on the page can be expanded or minimized, as the user prefers.
Users can associate multiple Merchant Accounts to a single wallet address, or they can associate a single Merchant Account to multiple Safex addresses. If a Merchant Account is associated with multiple Safex addresses, then whichever Safex address sends an Offer transaction, all subsequent purchases of that Offer will get paid to the Safex address that created the Offer. Linking a merchant account to multiple wallet addresses and then using them all to list products for sale is certainly possible. However, AND THIS IS IMPORTANT, users are advised to keep things simple, unless they have an actual need for such complexity.
Note: Wallets may appear to drop out of sync (or not automatically sync when the app is freshly opened).
Users may see, on occasion, that their wallet/s don’t seem to be synced to the top block. This is nothing the user needs to worry about, and has no impact on correct wallet functionality. It is simply a security measure that has been implemented in the case of a wallet being apparently left open without being actively used.
In such instances, the so-called websocket connection is closed after 5 minutes of such inactivity (or an absence of any wallet-blockchain interaction, when the wallet is freshly opened). Another benefit of this feature includes the freeing up of PC resources (each active, opened Safex wallet takes around 250mb of available RAM)
However, the architecture design of the wallet is as a one-page application, so it's all one page but only part of the page is visible as the user clicks on one of the sidebar menu items, and the other parts are hidden.
Any action that requires interaction with an actual Safex wallet will automatically check if the wallet is already open, and if not, will open a connection and resync to the current top block before it continues with the transaction action. So, regardless of whether the wallet appears to be synced when you perform a blockchain transaction, the wallet will look after you - it is always synced before doing anything and the synced balances are shown to the user on the Wallet page.
Let’s now go into specific instructions regarding each aspect of the Wallet page.
Create New Wallet
Click the button and you get prompted to provide a Wallet Name.
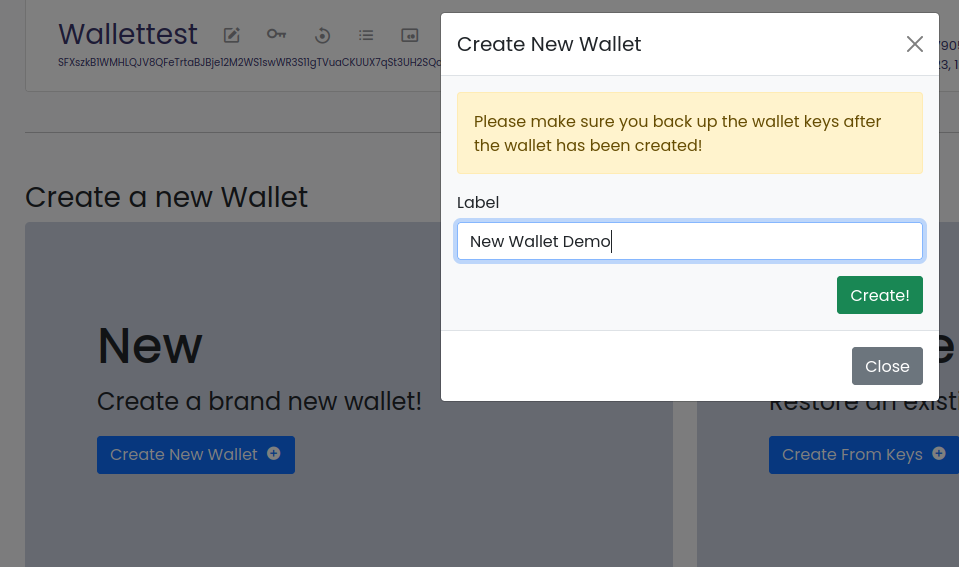
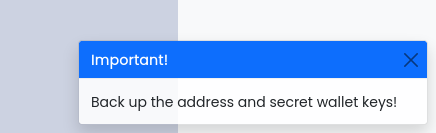
Then click Create! and a new wallet address is created, and you are prompted to backup your new Safex address and keys.
Restore Wallet
Click the Create From Keys button and you get presented with a screen, which allows you to enter your Safex Address and Private Keys, along with giving the wallet a name (label).
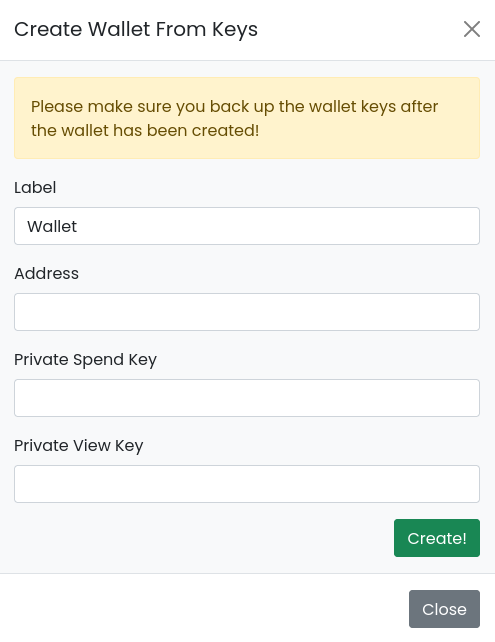
Once you have entered information into all the fields, click the Create! Button and the wallet is restored and a hard resync automatically takes place.
Let’s now look at the buttons and features available within each Safex Wallet:

Label aka wallet name, in this example is “Wallettest”.
The 5 buttons directly to the right of the Label are:
- Edit wallet name
- Access Private Keys
- Perform Hard Rescan
- Access Transaction History
- Generate a PaymentID
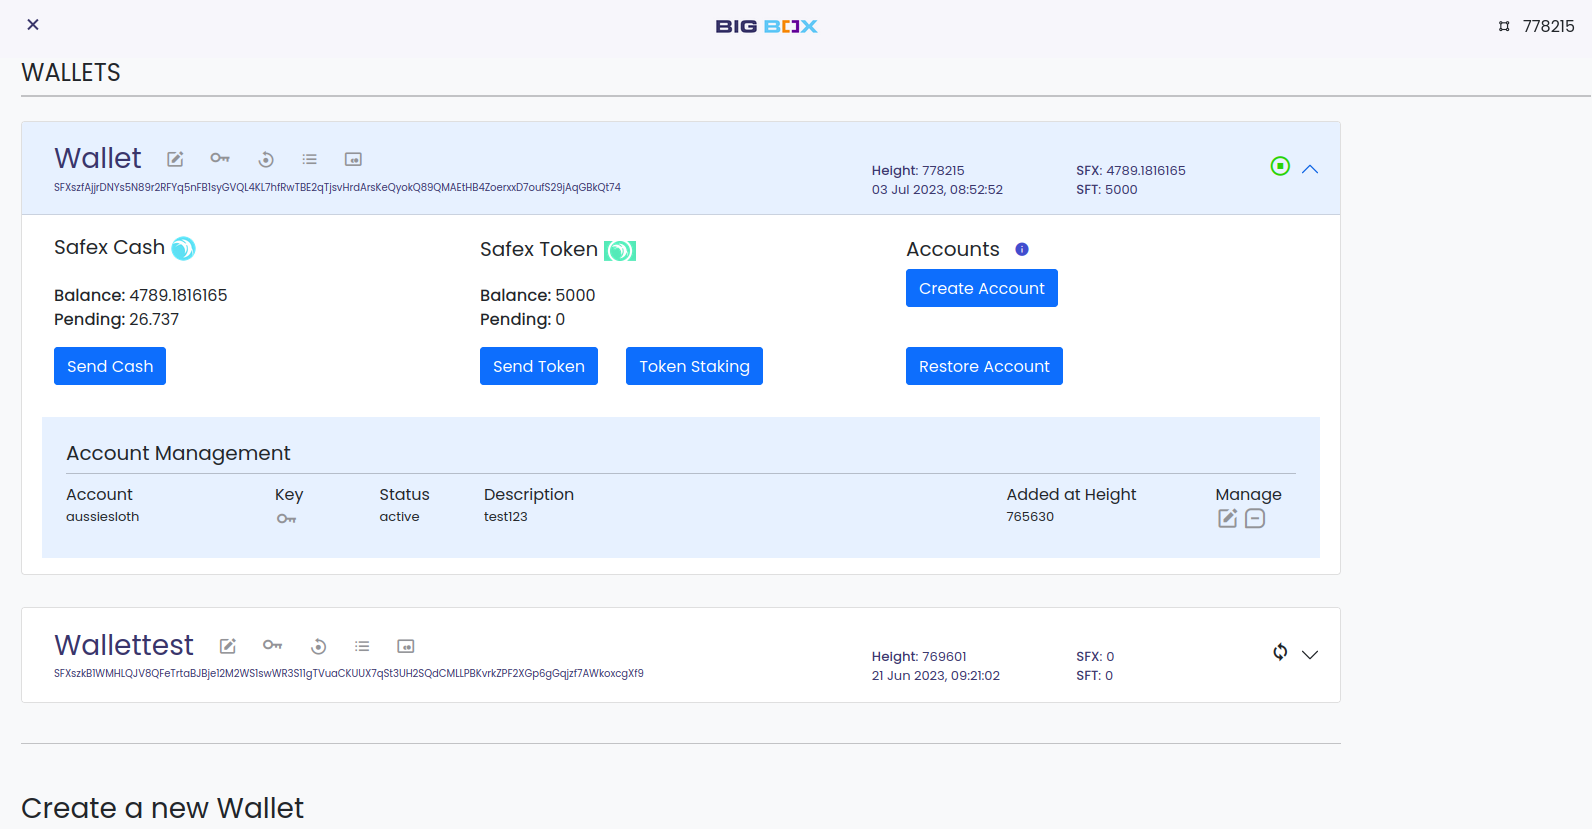
Once one or more wallets are here, you can:
- Manually sync to top block
- Send SFX
- Send SFT
- Stake/Unstake SFT
- Create a Merchant Account (See Big Box 201 for Creating/Restoring Accounts)
- Restore a previously created Merchant Account
Wallet balances for both SFX and SFT are also displayed, along with any Pending coins.
Clicking the Send Cash and Send Token buttons allow users to send the respective coins to another Safex Wallet address.
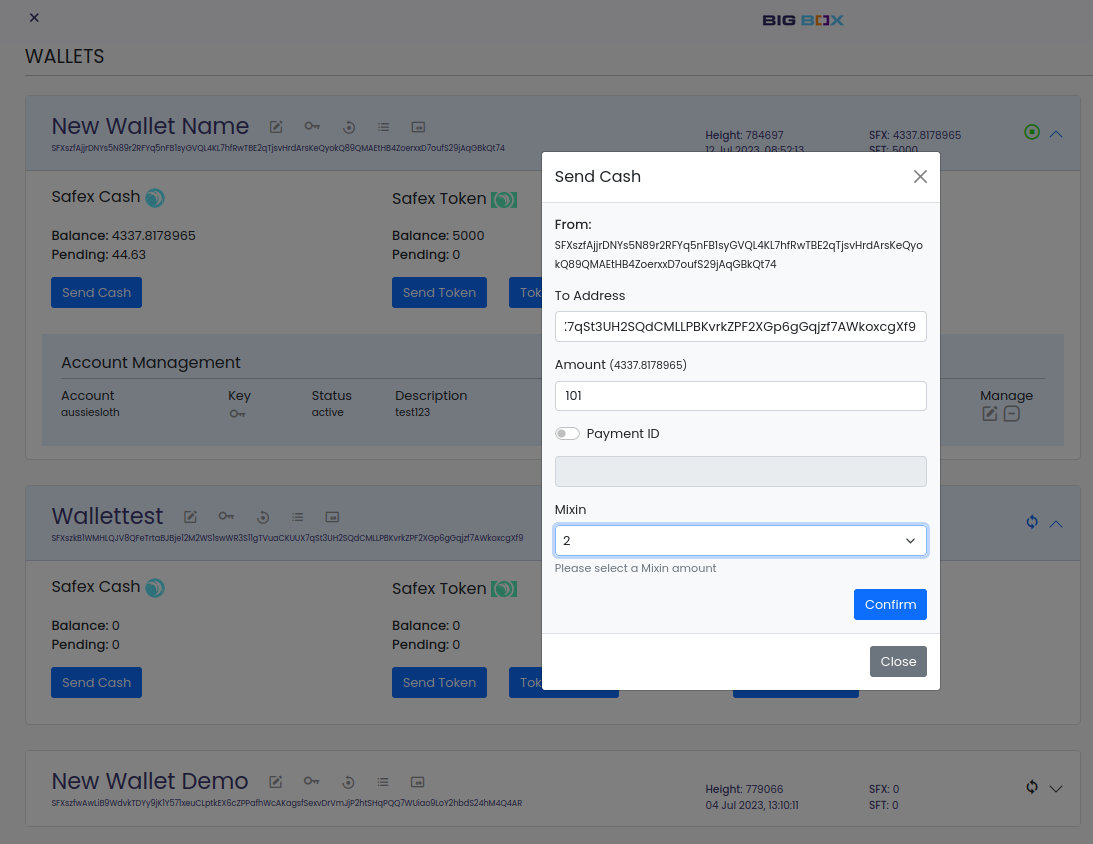
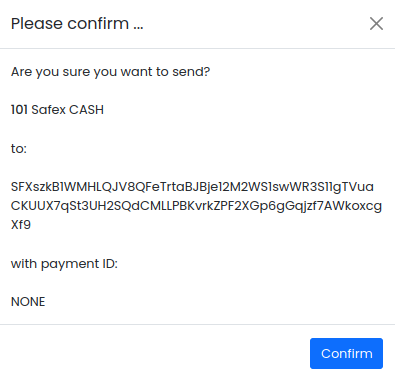
Confirmation popups allow users to check the transaction details prior to making the transaction. After you confirm the transaction, you then click the Send! Button to commit it to the blockchain for processing, and a toast popup appears, displaying the transaction details and txnID:
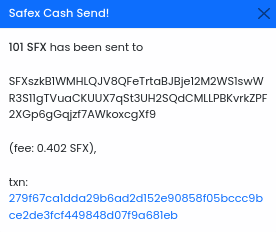
Sending Tokens works the same. Just remember that regardless of what type of transaction you make, the transaction fee is always paid in Safex Cash (SFX), so you need to always have some in your available balance.

Any Merchant Account associated with a Safex address (once Created or Restored) will appear in the Account Management section of the wallet window, and displays the following information:
- Account name
- Account Key
- Account Status (Active means you can list Offers on the blockchain; Pending means you are still waiting for the Account to become active, which takes 10 confirmation blocks)
- Account Description
- Safex Block Height that the Merchant Account was added to the Wallet
- Edit Account Description button
- Remove Account Button (safeguarded against accidental clicking with a subsequent confirmation popup.)
Merchant accounts are covered in greater detail in Big Box 201.
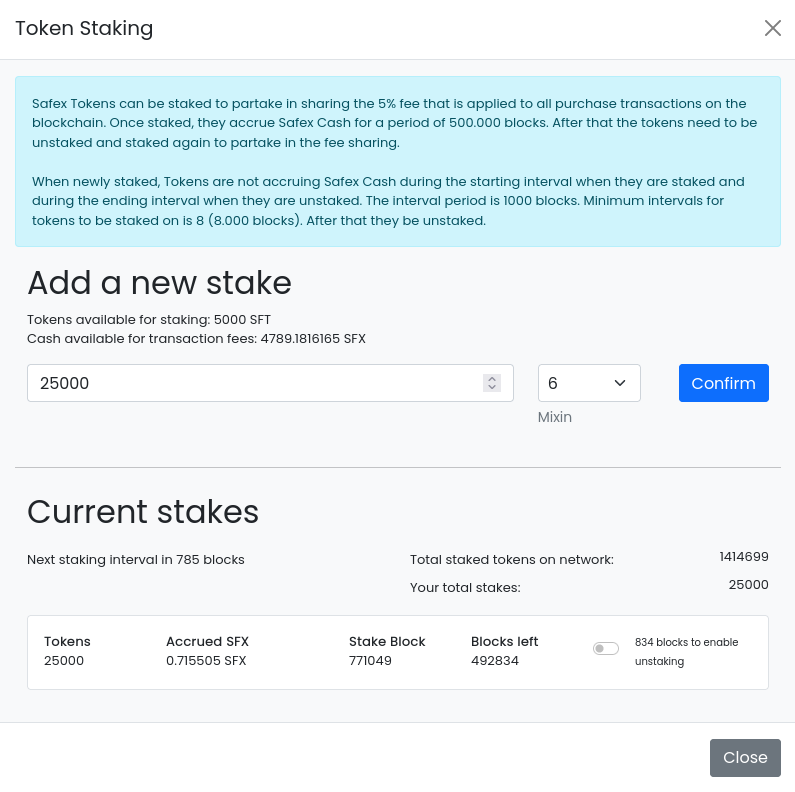
Token Staking Button (access to both Staking & Unstaking functions)
Clicking the Token Staking button within a specific Safex Wallet window allows users to Stake and Unstake their SFT. A Stake button allows for SFT staking, if the user has sufficient (25k+) available balance.
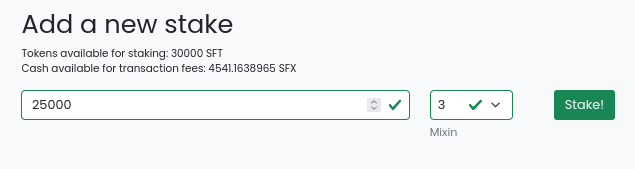
Clicking the Stake button allows the user to Stake the amount of Tokens selected.

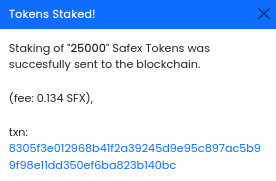
After confirming the desired transaction details, the button on the Token Staking page changes to the Stake! Button, and clicking it sends the transaction to the blockchain for processing.
Each staked amount appears below the Staking apparatus, appearing in chronological order of Stakes previously made, with the oldest at the top.
Each Staked entry in the Stakes table shows accumulated rev share for each staked amount, the block they staked each SFT amount, and how many blocks remain before they reach the 500k block cutoff, where rev share stops accumulating for that stake.
During the 8000 block Stake lock period, the wallet shows how many blocks remain before Unstaking is available.

Once unlocked, the 8000 block countdown is replaced by the Unstake button.

Each Staked amount has its own Unstake button beside it, which allows the user to collect the accumulated rev share showing for that stake. Beside each Unstake button is a lock mechanism, which is designed to prevent accidental unstaking with a wayward click of the mouse button. Users need to first unlock the Unstake button, by clicking the slide bar, prior to being able to Unstake any particular staked amount. When unlocked, the entire Stake entry changes color.

After unlocking, clicking the Unstake button immediately sends the Unstake transaction to the blockchain for processing.
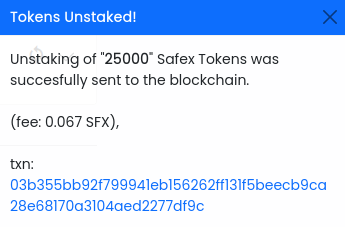
The corresponding Safex Tokens return to the user’s wallet as Pending, and after the 10 confirmation blocks, they return to the Available balance and can be Staked again.
Don’t Forget To Backup
As is clearly stated in the GitHub repository README file for the software:

It is critical that blockchain users practice diligent and regular backup processes, to avoid possible data loss.
With regards to Safex Wallet Keys and Merchant Account Keys, users should ensure they have safeguarded copies of these details. Further information on Backing up Keys, etc can be found in [link to blog articles].
Final Thoughts
That concludes the core Safex functions explanation of the Safex Big Box Store Wallet. All you need to do now is Create or Restore a Safex Wallet, load it up with some SFX, then enter a Big Box Store Front API URL into the Market page to browse items for sale, and or make a purchase.
You can now move onto the next article in the series, Big Box 104: Shopper Walkthrough, which takes you through the shopping experience using the Big Box ecosystem.